By: Danica Ramos
In recent months glass painting has been trending on social media. Many people have painted their favorite anime or Disney characters. With extra time on students’ hands, they can take on a new art project. Here are the materials and step by step instructions on how to make glass paintings.
Materials
- Picture frame
- Black paint pen
- Acrylic paint
- Paint brushes
- Paperclip/pin
- Printed reference picture
- Paint brushes
- Masking tape
Step 1: Remove the glass from a picture frame.

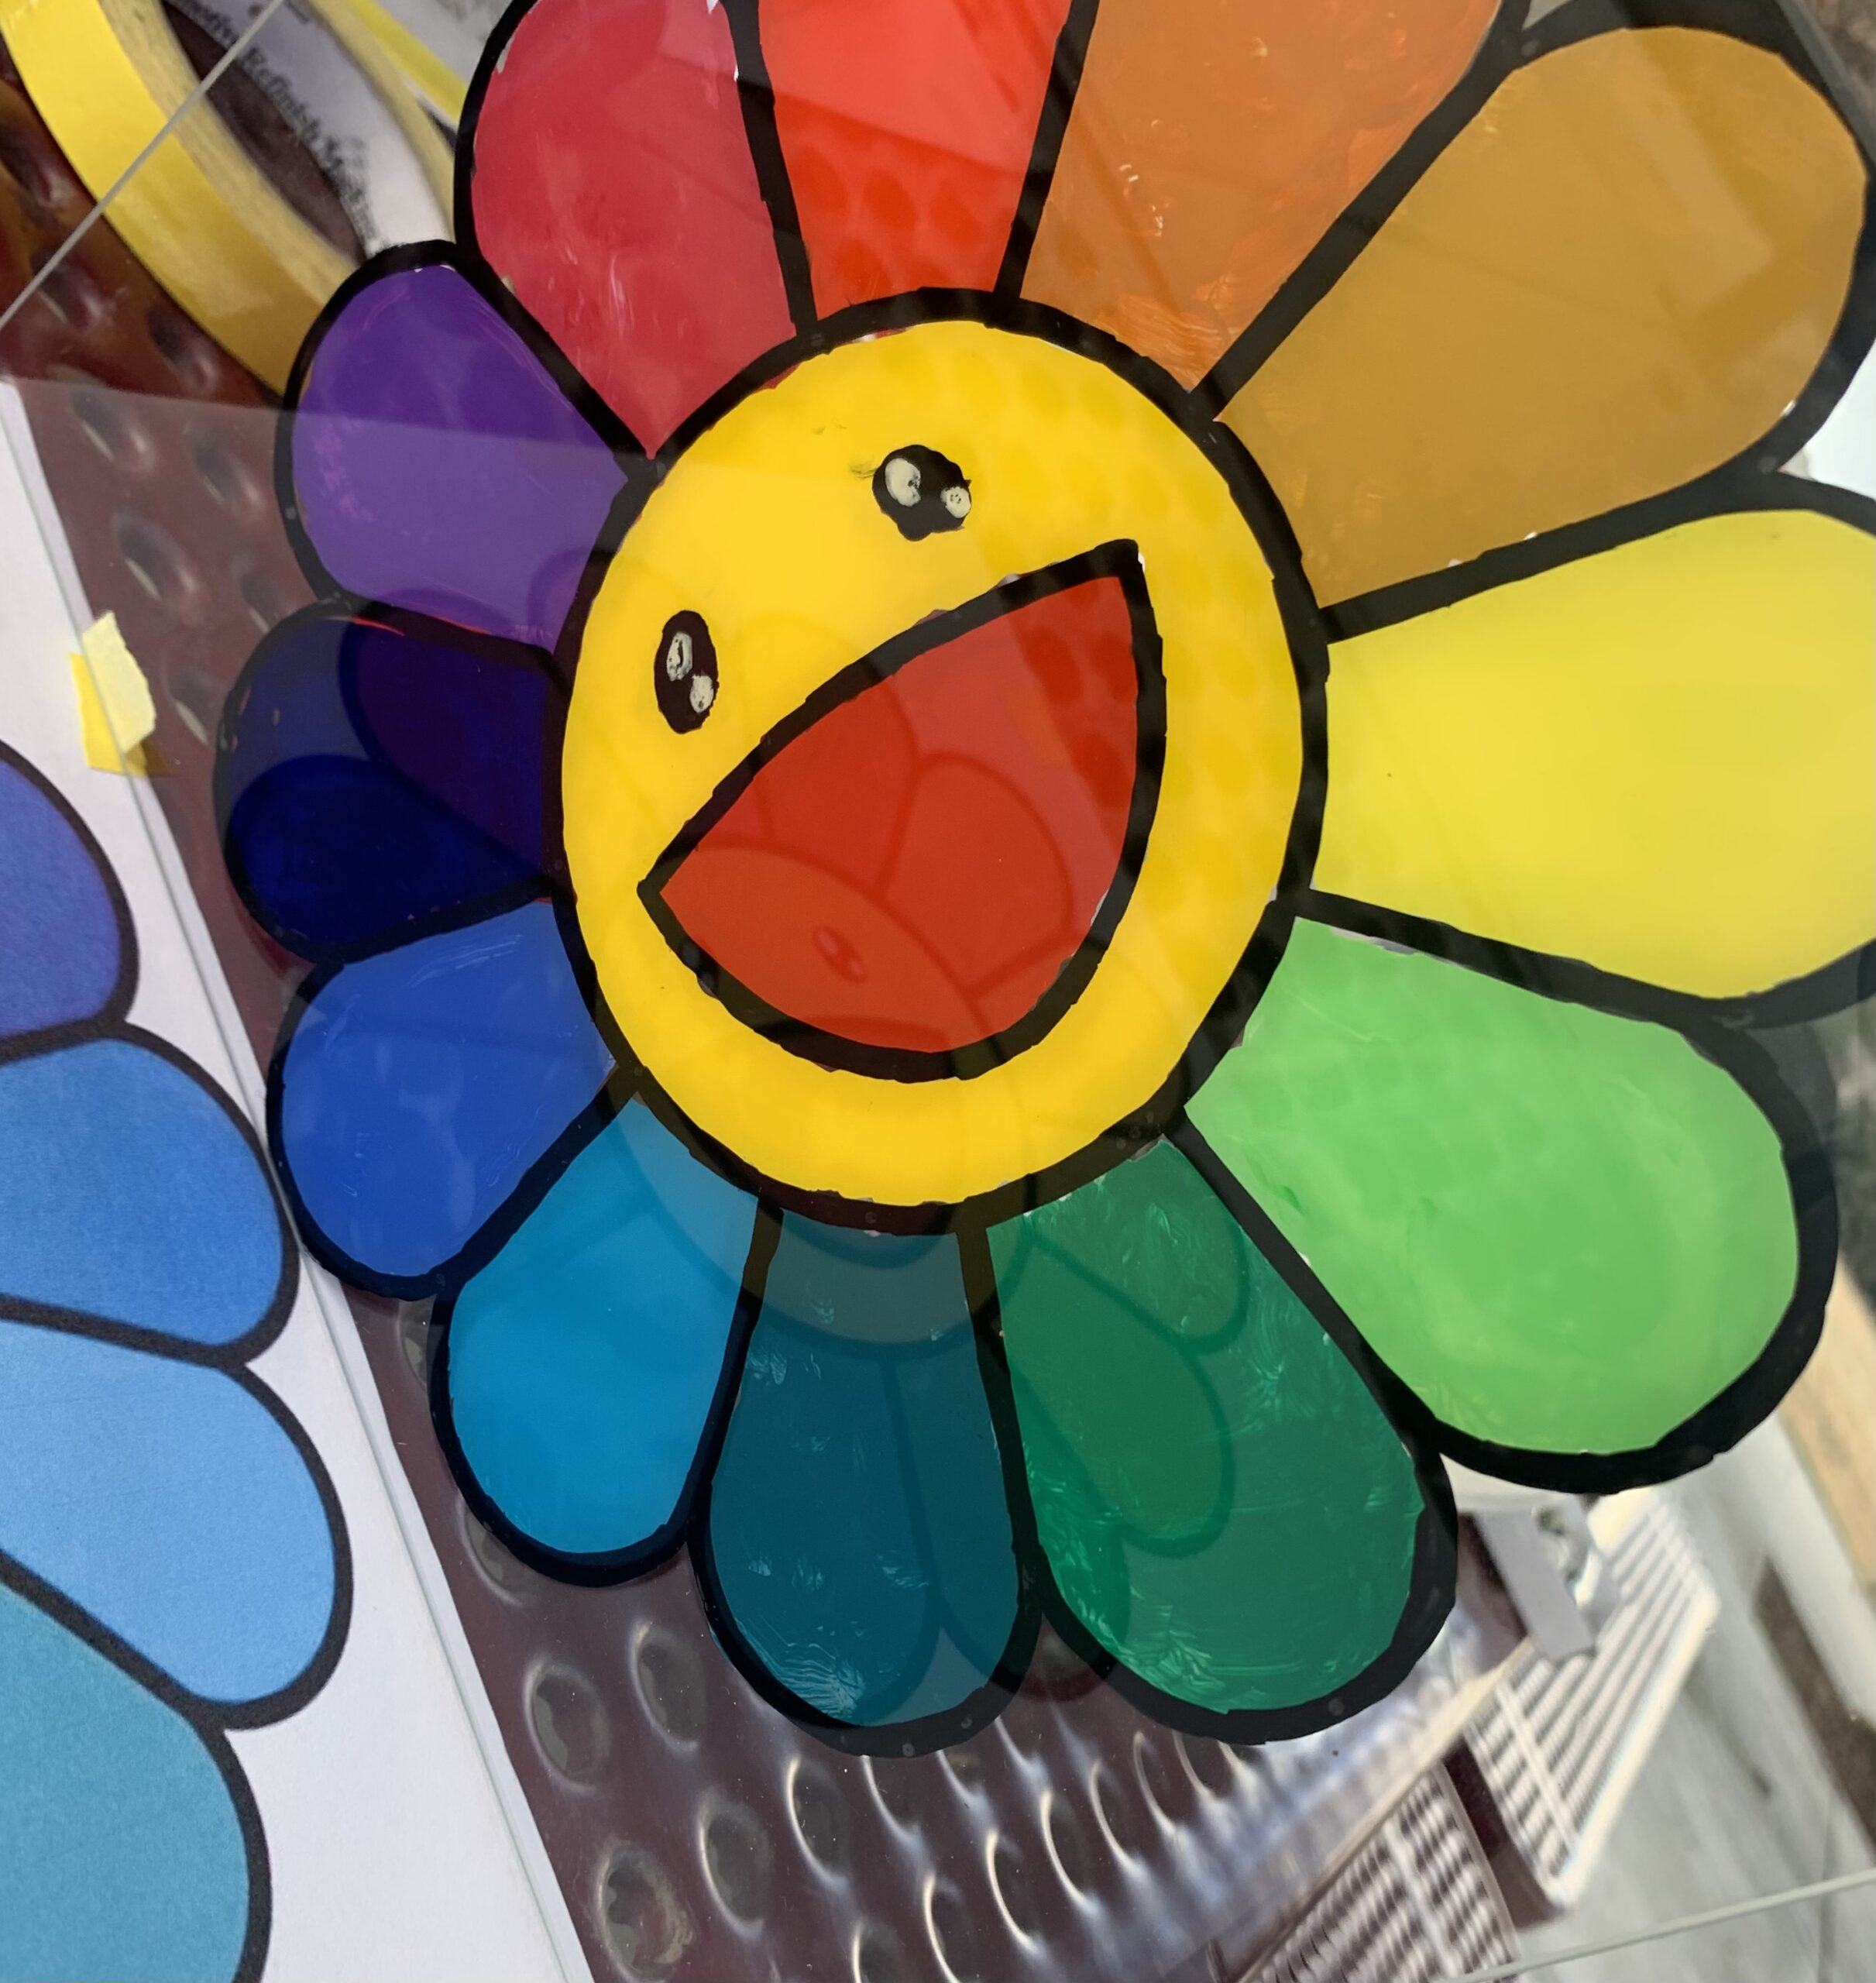
Step 2: Print out an inverted or flipped reference photo so that when you flip the glass it won’t be backward. This step is optional if you choose to freehand. The reference image in this tutorial is Takashi Murakami’s Rainbow flower.
Step 3: Use masking tape to hold the reference picture to the back of the glass.

Step 4: Use your paint pen to outline the reference. POSCA Paint Markers work well. If you smudge or want to clean up your lines you can use a needle or paper clip to scrape off the sides.
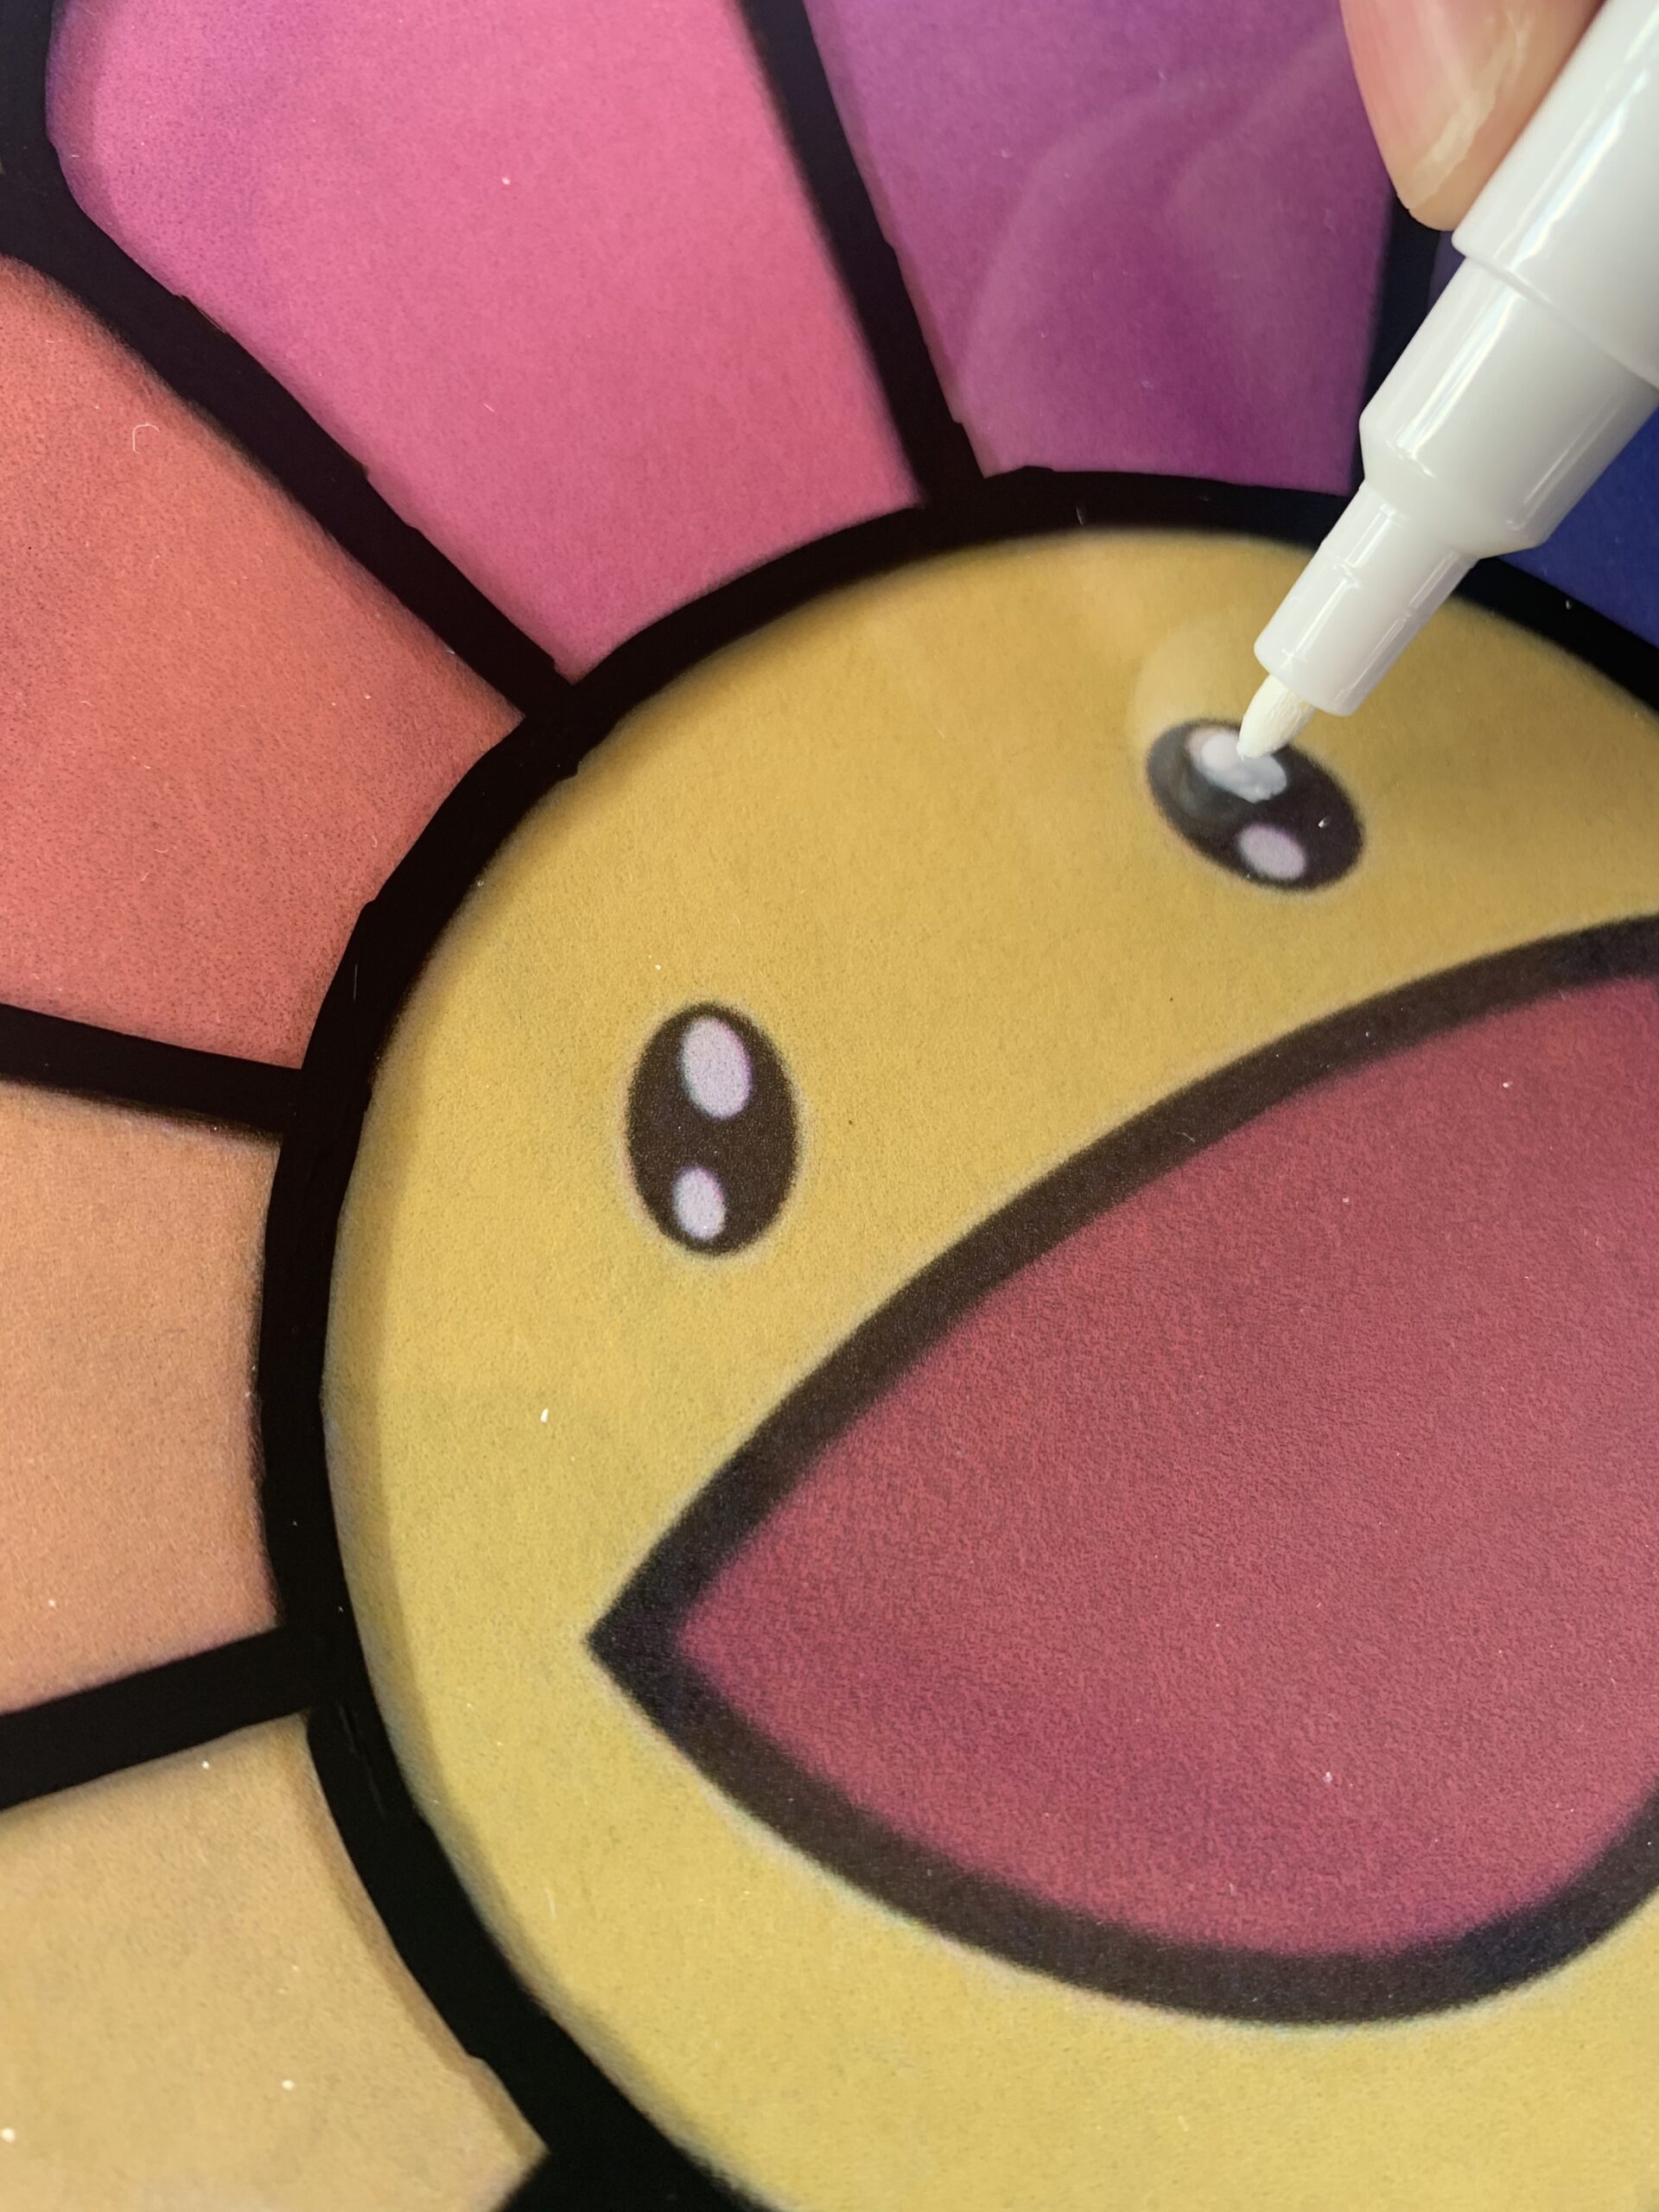
Step 5: Next paint on the front details, such as highlights, before you do the bigger chunks.

Step 6: Then start painting with acrylic paint in the larger parts of the image. When painting, try to dab instead of brush strokes. You might have to do a few layers so that the paint is opaque.
Step 7: Hold your glass up to the sun to make sure no light passed through the paint. If it does paint another layer.

Step 8: Once finished wait until the paint is completely dry. You can then keep the glass out of the frame or put it back.


